CSS 样式基础
高度宽度
html 代码
	<div>
        div1
    </div>
    <span>span1</span>

css 写法
	div{
        height: 100px;
        width: 100px;
        background-color: pink;
    }
    span{
        height: 100px;
        width: 100px;
        background-color: green;
}我们还可以这样设置:width: 50%。宽度高度可以设置百分比,会按照父级标签的高度宽度来计算
字体相关
html代码
    <div>
        窗前明月光,地上鞋三双!
    </div>

css写法
	font-size: 20px; /* 默认字体大小是16px */
    color:green; /* 字体颜色 */
    /* font-family: '楷体', '宋体'; !* 字体格式 *! */

	font-weight: 400;  /* 字体粗细 100-900,默认是 400 */
字体对齐
html 代码
    <div>
        只身赴宴鸡毛装!!!
    </div>

css 代码
	height: 100px;
    width: 200px;
    background-color: yellow;
    text-align: center;    /* 水平居中 */
    /* text-align: right; */
    line-height: 100px;    /* 和 height 高度相同,标签文本垂直居中 */
颜色设置
包括背景和字体颜色的设置。
颜色的设置有三种方式:
- 英文单词:
red - 十六进制:
#ff746d - rgb:
rgb(155, 255, 236)
rgba 和标签透明度 opacity 的区别:
rgba(255, 0, 0,0.3);带透明度的颜色,单纯的就是颜色透明度opacity: 0.3;标签透明度,0 到 1 的数字,这是整个标签的透明度
背景
html 代码
    <div class="c1">

    </div>

css 写法
    /* background-color: #ff746d; */
    /* background-color: rgb(155, 255, 236); */
    /* background-image: url("fage.png"); */    /* url 写图片路径。也可以是网络地址路径 */
    /* background-repeat: no-repeat; */
    /* background-repeat: repeat-y; */
    /* background-position: right top; */
    /* background-position: 100px 50px; */
    /* 简写方式 */
    background: #ff0000 url("fage.png") no-repeat right bottom;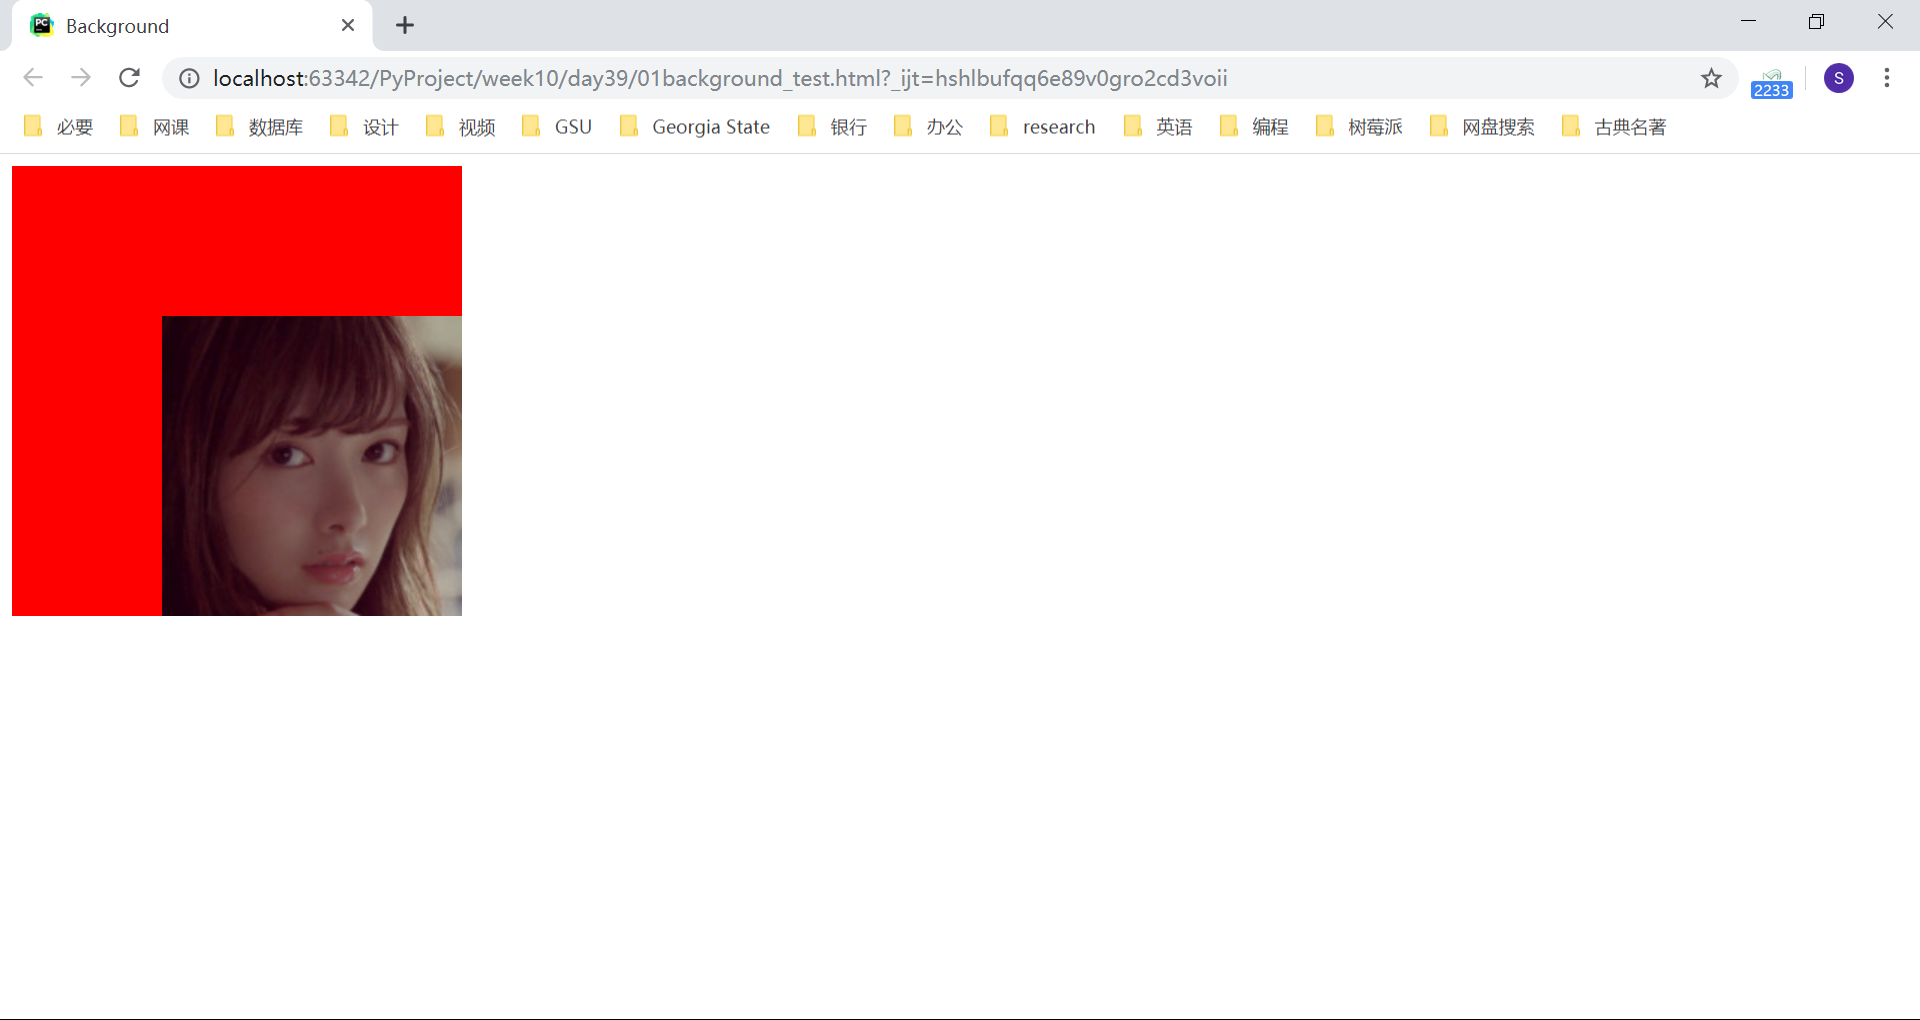
边框
html 代码
    <div>
        都是同学装鸡毛!
    </div>
css 写法
    /* 边框简写方式,对四个边框进行设置 */
    /* border: 1px solid red;*/
    /* border-left: 1px solid green; */
    /* border-top: 1px solid blue; */
    border-width: 5px;    /* 边框宽度 */
    border-style: dashed;    /* 边框样式 */
    border-color: aqua;    /* 边框颜色 */
盒子模型
盒子模型中,有四个占用空间大小的属性:
- margin:外边距,距离其他标签或者自己父级标签的距离
- padding:内边距,内容和边框之间的距离
- border:边框
- content:内容部分,设置的 width 和 height
内边距
html 代码
	<div>
        英姿飒爽雄鸡装,飞上枝头变凤凰!
    </div>

css 写法
    width: 200px;
    height: 100px;
    border: 4px solid red;
    /* padding: 6px 8px; */
    /* padding: 4px 2px 6px 8px; */
    /* padding-left: 20px; */
    /* padding-top: 20px; */
    /* padding-right: 20px; */
    /* padding-bottom: 20px; */
外边距
html 代码
    <div>
        英姿飒爽雄鸡装,飞上枝头变凤凰!
    </div>
    <div class="c1">
        <div class="c2">
        </div>
    </div>

css 写法
    .c1{
        background-color: red;
        height: 100px;
        width: 100px;
        /*margin-left: -1000px;*/
        /*margin: 10px 15px;*/
    }
    .c2{
        background-color: green;
        height: 20px;
        width: 20px;
        /* margin: 10px 15px; */
        /* margin-left: 5%; */    /* 距离左边的距离为父级标签宽度的5% */
        margin-left: 20px;
    }
display 属性
display 的几个值:
- inline:将块级标签变成了内联标签
- block:将内联标签变成块级标签
- inline-block:同时具备内联标签和块级标签的属性。也就是不独占一行,但是可以设置高度宽度
- none:设置标签隐藏
html 代码
    <span>
        我是 span 标签
    </span>
    <div class="c1">
        鹅鹅鹅,曲项向天歌!

    </div>

    <div class="c2">
        拔毛烧开水,铁锅炖大鹅!
    </div>
css 写法
	span{
            /* display: block; */
        }
    .c1{
        background-color: red;
        height: 100px;
        width: 100px;
        /* display: inline; */
        /* display: inline-block; */
        display: none;
    }
    .c2{
        background-color: green;
        height: 100px;
        width: 100px;
    }
浮动
浮动的元素,不独占一行,并且可以设置高度宽度。
html代码
	<div class="cc">
        <!--<div>吟诗作对</div>-->
        <div class="c1"></div>
        <div class="c2"></div>

    </div>

    <div class="c3"></div>

css样式
		body{
            margin: 0;
        }
        .c1{
            background-color: red;
            height: 100px;
            width: 200px;
            float: left;
        }
        .c2{
            background-color: brown;
            height: 100px;
            width: 200px;
            float: right;
        }
        .c3{
            background-color: pink;
            height: 100px;
            width: 100%;
        }
如果所有的子标签都浮动会造成父级标签塌陷的问题,父级标签没有高度了,这会让下面的标签挤到上面来,造成页面的混乱。
解决父级标签塌陷问题:
给父级标签加高度
清除浮动:clear 属性
最常用,通过伪元素选择器的方式清除浮动。需要解决塌陷问题的父级标签加上这个类即可:
css 样式
	.clearfix: after{
            content: '';
            display: block;
            clear: both;
        }
html 代码
    <div class="cc clearfix">
        <!--<div>吟诗作对</div>-->
        <div class="c1"></div>
        <div class="c2"></div>
    </div>
    <div class="c3"></div>
伪元素选择器
html 代码
    <div>
    	吟诗作对!
    </div>
css 写法
    div{
        background-color: pink;
        height: 100px;
        width: 200px;
    }
    div:after{
        content: '?';
        color:white;
    }
伪类选择器
hover 和 pointer
html 代码
    <div class="c1">

    </div>

css 写法
    .c1{
        background-color: red;
        height: 300px;
        width: 300px;

    }
    .c1: hover{
        /*background-color: green;*/
        background-image: url("111.png");
        cursor: pointer;
    }
其他伪类选择器
/* a标签未访问的时候设置效果 */
a: link{
    color: yellow;
}
/* 鼠标悬浮上去时设置效果 */
a: hover{
    color: black;
}
/* 鼠标左键点击下去的还没有抬起来的时候,设置效果 */
a: active{
    color: green;
}
/* 鼠标抬起后,访问过之后设置效果 */
a: visited{
    color: purple;
}
文字装饰
a{
	text-decoration: none;    /* 去除下划线 */
}
定位 positon
四种定位模式:
static:静态定位,也就是标签默认
relative:相对定位,按照自己原来的位置进行移动
absolute:绝对定位,按照父级标签或者祖先辈儿标签设置了相对定位的标签位置进行移动,如果没有找到相对定位标签,会找到整个文档的位置进行移动
fixed:固定定位,按照浏览器窗口的位置进行移动
html 代码
    <div class="cc">
        <div class="c1"></div>
        <div class="c2"></div>
    </div>
    <div class="c3"></div>
css 写法
       body{
            margin: 0;
        }
        .c1{
            background-color: red;
            height: 100px;
            width:100px;
        }

        .c2{
            background-color: green;
            height: 100px;
            width:100px;
            /* position: relative; !* 相对定位 *! */
            /* left:100px; */
            /* top:-100px; */
            /* bottom: */
            /* right: */
            position: absolute;
            top: 20px;
            left: 80px;
        }

        .c3{
            background-color: purple;
            height: 100px;
            width:200px;
        }
        .cc{
            margin-top: 200px;
            position: relative;
        }
固定定位示例:
<!DOCTYPE html>
<html lang="en">
    <head>
        <meta charset="UTF-8">
        <title>Title</title>
        <style>
            body{
                margin: 0;
            }

            .c1{
                background-color: red;
                height: 1000px;
                width: 800px;
            }
            .c2{
                background-color: green;
                height: 1000px;
                width: 800px;
            }
            .c3{
                background-color: blue;
                height: 1000px;
                width: 800px;
            }

            .s1{
                position: fixed;
                left: 40px;
                bottom: 20px;
                height: 40px;
                width: 60px;
                background-color: aqua;

                line-height: 40px;
                text-align: center;
            }

            .s1 a{
                color:white;
                text-decoration: none;
                font-size: 12px;
            }

        </style>
    </head>
    <body>
        <div id="top">这是顶部</div>

        <div class="c1"></div>
        <div class="c2"></div>
        <div class="c3"></div>
        <span class="s1">
            <a href="">返回顶部</a>
        </span>
    </body>
</html>
选择器优先级
html代码:
    <div class="c1">
        这是 c1 的直属文本
        <div id="d1" class="c2">
            <!--<span class="c3" id="d3" style="color:black;">-->
            <span class="c3 c4">
                这是 c1 的儿子 c2 标签的文本
            </span>
        </div>
    </div>

css代码
        div{
            color: red;
        }

        /* css 属性有继承的概念  权重0 */
        /* 标签(元素)选择器  权重1 */
        /* 类选择器  权重10 */
        /* id选择器  权重100 */
        /* 内联样式  权重1000 */
        /* color: green!important; */    /* 无敌! */
		/* 如果优先级相同,按照后面的为准 */
		别忘了,class属性的值可以写多个

        /* #d3{ */
            /* color: yellow; */
        /* } */

        .c3{
            color:blue;
        }

        /* span{ */
            /* color:green!important; */
        /* } */

        .c4{
            color: yellow;
        }
hover 的使用
HTML 代码
    <div class="c1">
        <div class="c2">

        </div>
        <div class="c3"></div>
    </div>

css 写法
    .c1{
        background-color: aqua;
        width: 200px;
        height: 200px;
    	}
    /* .c1:hover{ */
    /* background-color: red; */
    /* } */
    .c2{
        background-color: yellow;
        height: 40px;
        width: 40px;
        display: none;
    	}
    .c1: hover .c2{
        display: block;
    	}
list-style 控制 ul 列表样式
list-style: none; /* 和 ul 标签的 type='none' 是一样的 */